Wonderquest: Characters
 Comments(0)
 Character-switching is really the main thing distinguishing Wonderquest from DROD, as far as I can tell. There are two ways it can happen. First, you can step on a tile that simply transforms the character under your control to a different one. The fiction is that all the characters in your party are travelling together, so I suppose this is an abstraction of giving a different person the lead. And he’ll remain in the lead even if you walk into a different room — often rooms will prevent this by putting tiles to change you back at all of a room’s exits, but there are occasional secrets guarded by obstacles that can only be overcome by transforming in another room some distance away.
But the more interesting way to switch, puzzle-wise, is the Party Splitter tiles. In any room containing Party Splitters, some will be marked with an icon and others will be empty. Step on one with an icon, and you gain control of the corresponding party member while leaving the one you were previously controlling behind. Once you’ve done that, you can step on an empty splitter of the same color to switch back, leaving your current character dormant at that spot. It’s kind of like switching back and forth between clones or squaddies in DROD, and has some of the same uses, like ping-ponging monsters around as they keep switching who to pursue. But unlike in DROD, you can’t just do it anywhere, and the characters are not interchangeable. They all have unique abilities and limitations. This makes the act of switching more interesting and meaningful.
Here are the abilities and limitations of the characters I’ve acquired so far.
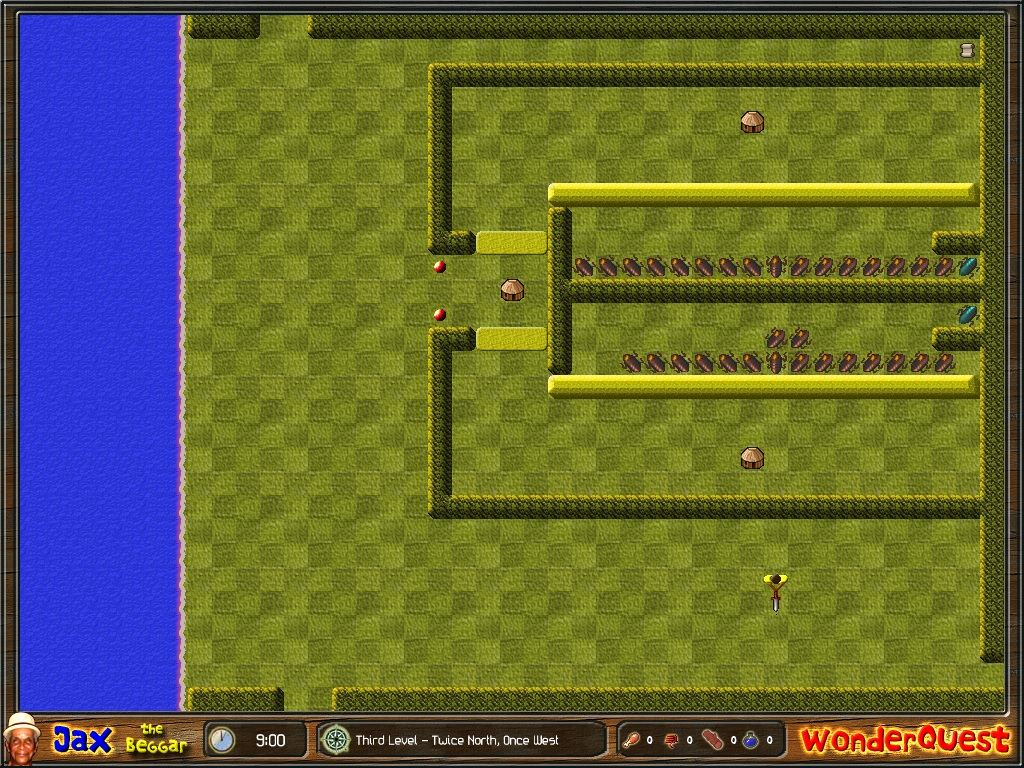
Jax, the Beggar: The initial player character. Armed with a knife. Completely equivalent to Beethro in the DROD games.
Nikolay, the Archer (or Trekker, depending on which part of the UI you pay attention to): Capable of killing at a distance of five tiles, provided they’re in a straight line in one of the eight directions you can face. Perhaps ironically for an archer, he can’t step on force arrows. He can, however, climb towers that Jax can’t, and from atop them fire arrows over obstacles.
Berk, the Sailor: Capable of traveling on water, but can’t come on land unless it’s to step on a character-change or party-splitter tile, which seriously curbs his usefulness. Unique for not being displayed on the map as a human figure; instead, he’s shown as a little boat. No offensive capabilities. Honestly, he feels more like a mode of transportation than a character, but he uses the same character-changing mechanics as everyone else.
Lucas, the Priest: At this point, we abandon all attempt at linking the character’s profession to their abilities. Lucas’ main advantage is that he’s invisible to Eyes (which act just like the ones in DROD). The game explains this as him blinding them by reflecting light from his crucifix, which is also his weapon, equivalent to Jax’s knife. At any rate, it’s a fairly minor power, only useful because the puzzles are designed around it, and doesn’t feel like it makes up for his limitations: he can’t walk on grass, which is the main terrain type in most rooms, and he can’t move diagonally (another possible irony, considering how certain other games make their clergy only capable of moving diagonally). Not being able to move diagonally lets the author use him for pure Sokoban puzzles, which may or may not be a good thing for the work.
Chen, the Scientist: Another mishmash of disparate traits that don’t have much to do with his profession. He’s armed with a bamboo pole that sticks out in two opposite directions, letting him attack monsters on both sides at once. He can’t step on mud, which is usually where the Priest is found, as if science and religion are too incompatible to share turf. But most importantly, he can swim. He has to remain within 2 tiles of shore, but unlike Berk, he can land anyplace, provided it’s not mud.
It’s a highly international group, hailing from New York, Russia, Denmark, Brazil, and China. They’re all male, though.