Temple of Elemental Evil (Board Game)
 Comments(3)
 Now, after we finished Pandemic Legacy, my team decided that we liked getting together for board games every Tuesday enough to keep on doing it. But what to play? You can’t really do Pandemic Legacy twice; even if you started with a fresh board, the experience would be completely different when you know what to expect. And, despite “Legacy” being a hot buzzword in the board game world, there aren’t a lot of good substitutes. I feel like co-op is a must for this group — we tried some competitive games, and it altered the vibe in the room for the worse. And we wanted a campaign mode that lasts for multiple sessions if possible. I asked around, and none other than veteran board game designer Kevin Wilson (an online acquaintance via IF) suggested Temple of Elemental Evil, a board game adaptation of the classic D&D module, fourth in the “D&D Adventure System” line. I have since learned that Kevin is the designer of the soon-to-be-released fifth Adventure System game, Tomb of Annihilation, which makes his recommendation seem a little bit self-serving, but what could he do? ToA hadn’t been announced yet at the time, so he wasn’t at liberty to say why ToEE sprang to mind.
Before describing the game, I have to admit a twofold ignorance of where it’s coming from: I’ve never played the original Temple of Elemental Evil adventure, nor any of the previous D&D Adventure System board games. I’d played the very beginning of the 2003 CRPG adaptation of ToEE, but really no more than the introductory UI tutorial. So I was basically unfamiliar with the whole thing going in, except to the extent that I know D&D.
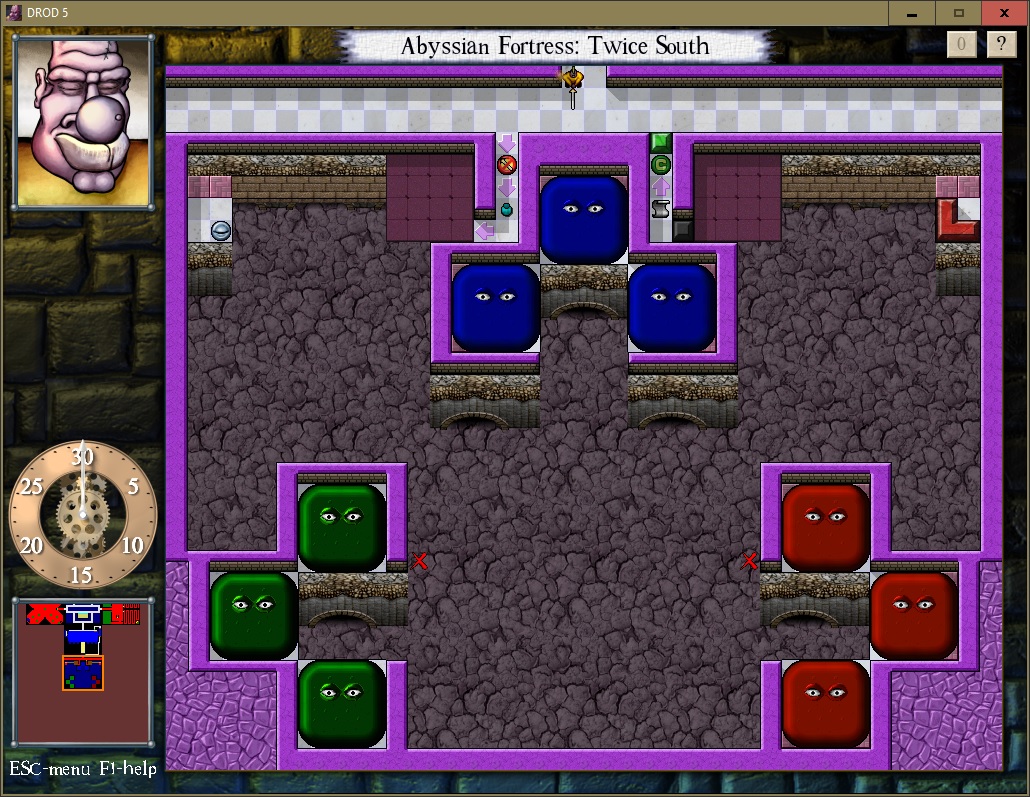
So, the basics: This is essentially a roguelike done by hand. It comes in an impressively large box, which is mainly filled with well-made plastic miniatures, including one dragon. The game’s campaign mode consists of a sequence of 13 scenarios. In most scenarios, your goal involves finding and killing a “Villain”, which is to say, a boss monster that appears after you’ve explored enough. Even if there’s another goal, like rescuing captives or retrieving a powerful artifact, there tends to be a Villain trying to stop you. Three of the adventures, to provide a bit of variety, are set in the town of Red Larch. The other ten, regardless of where the story says they take place, are set in a randomized dungeon, constructed on the fly from a deck of tiles. On every turn, after you take your actions (moving, attacking monsters, disabling traps), if you’re at an unexplored edge of a tile, you draw the top tile from the deck and place it at that edge. Usually the tile has from one to three spots to place monsters, which are also randomized, using a deck of monster cards. Note that, because this happens after you’re done with your actions, the monsters always get to attack you before you can attack them — an advantage that they sorely need, because so many of them can be killed with a single blow.
If you don’t explore a new tile on your turn — and sometimes even if you do — you instead draw a card from the “Encounter” deck. “Encounter” sounds innocuous, but most of the cards are things like “Roll to attack yourself at +8, take 2 damage on hit, 1 on miss” or “Either discard a Treasure card or take 1 damage for every Treasure card you have” or “Place a Rage of Imix token on your current tile, then do 2 damage to everyone on a tile with a Rage of Imix token”. There are a few beneficial encounters, but they always have a “Draw another encounter card” clause at the end to make sure you keep getting hurt. It turns out that it’s these Encounters, not the monsters, that are the primary threat in the game, slowly whittling down your hit points while you wait for the Villain to show up. In a normal dungeon crawl, you’d take care to kill every monster before exploring further, lest you find yourself overwhelmed. Here, that approach just means death by a thousand cuts from the Encounter cards. Avoiding Encounters by charging ahead and revealing a new tile every single turn is still usually unwise, mind you. There’s a balance to be found.
One other thing tilts this balance: when you get an encounter that you really don’t want, you can skip it by paying five experience points. That’s a good reason to favor exploring and getting more monsters over not exploring and getting more encounters, because slain monsters are the source of experience points. Mind you, that’s the only thing they have in common with experience points in regular D&D. XP here is a shared resource, doesn’t persist across adventures, and isn’t used for character advancement. Skipping encounters is the only use for XP. Character upgrades are purchased with gold — which is kind of a throwback to the original D&D, where gold and XP were more or less equivalent. This is but one example of the game’s unfortunate tendency to use D&D terminology with completely different meanings, often unintuitive ones. “Encounter” is another.
The most Legacy-ish part of the game is that at the end of each adventure, you make scenario-specific alterations to the monster, treasure, and/or encounter decks, shuffling in more powerful monsters and worse encounters as you advance through the campaign, replacing the Fire Cutists with Empowered Fire Cultists that use the same miniatures and so forth. If you complete an adventure without using any healing surges — which work completely differently than in D&D — then the system assumes that things are too easy for you and the difficult stuff needs to be added sooner.
Monsters are controlled by behavior algorithms printed on their card, organized as a list of cases, like a Lisp “cond” statement, with the conditions boldfaced: “If this monster is within 1 tile of a hero, it moves adjacent to the closest hero and attacks that hero with a wicked slam. Otherwise, this monster moves 1 tile towards the closest hero.” The most complex algorithms belong to the Villains, which tend to have multiple conditionally-executed attack routines, like a boss in a shooter. For example, the Air Elemental villain has both a ranged “Blast of Wind” attack and a short-range area-of-effect “Whirlwind” attack that pushes you away when you get too close.
Unfortunately, these elaborate routines are kind of wasted. In our group, at least, we tended to dogpile on the Villains the moment they appeared, with the result that they seldom lived long enough to use the full range of their abilities, especially as the campaign went on and the heroes grew in power. There’s a Salamander weaponsmith Villain whose big threat is that he can activate other monsters out of turn, giving them more attacks; when we fought him, he never had the opportunity to do this. There’s an adventure where you have to keep a bunch of freed prisoners safe from an Elemental boss while they make for the exit; the Elemental never got close enough to the prisoners to be a threat. The height of this trend was Adventure 11, when you first encounter the dragon. This is one of the three town adventures, the idea being that the dragon is attacking Red Larch and has to be driven back into its lair. (This basically means killing it; it just escapes in a cutscene so it can come back later). The town map has villagers scattered around, and the scenario adds a special “Rescue Villager” action that removes them from the board so the dragon can’t hurt them, so I suppose the intention here is that you’d spend most of your time running around rescuing people while the dragon wreaks havoc. My team didn’t bother with this. It was obvious to us that the best way to keep the villagers from harm was to just kill the dragon as quickly as possible. We managed it in three turns. One of our players was out sick that day, and it’s just as well, because if we’d had four players, someone wouldn’t have gotten to play at all. I compared it at the time to one of those high-powered prizefights where people pay thousands of dollars for a ringside seat, only for the fight to be over in three minutes. Putting a dragon mini in the box creates a sense of anticipation that heightens the anticlimax. The second dragon encounter, in Adventure 13, was much more satisfying, because we had to go through a dungeon and get softened up by Encounters and Empowered Cultists first.
Unlike Pandemic Legacy, it’s easy to reset the game to its initial state and go through the campaign again. I won’t be doing that, satisfying though it was to go through once. One member of the team has already cannibalized the minis for use in real D&D. I’m told that this is a big part of the appeal of the Adventure System games, and that some people just buy the sets for the minis and the tiles rather than for the game. Supposedly ToEE is particularly valuable for this, because you can never have too many distinct types of human figure, and ToEE gives you four different types of cultists in addition to the heroes. Villagers and prisoners, on the other hand, are represented by circular cardboard tokens rather than minis, which seems a little strange when I think about it. Why this distinction? They all have stats and a position on the board, just like the monsters and heroes.